
Older irons often arrive with incomplete descriptions: a brand, a familiar model name, maybe a guess at the year. The useful question is more precise: which head generation is this, and what is its present build? A manufacturer chart can answer the first part's original specification, but it cannot measure the clubs you have now.
1. Get photos of more than the model name
Start with a clear photo of the back cavity and badge on a mid-iron. Add the sole, face and hosel, then a picture of the whole set. This gives you both design details and the actual club numbers included. Ask for close-ups of any head that looks different; mixed sets are easy to miss in a single group photo.
Shaft bands and grips can help describe the club as it stands, but they are weaker evidence for the head generation because both can be replaced. Keep the photos of the head as the main identification reference.
2. Match the head to a specific generation
Search the manufacturer archive for the full model name and compare its own images or product sheet with the head. Do not assume that a reused model name points to one specification table. TaylorMade, for example, published separate 2016 M2 and 2017 M2 iron sheets. Our M2 generation comparison shows the different cavity cues in those source images.
A generation label or catalog year is not the manufacture date of an individual head. If the source does not establish a calendar year, keep its documented generation code. Our Titleist records, for example, use AP1 (710) and AP2 (712) without turning those codes into unsupported production dates.
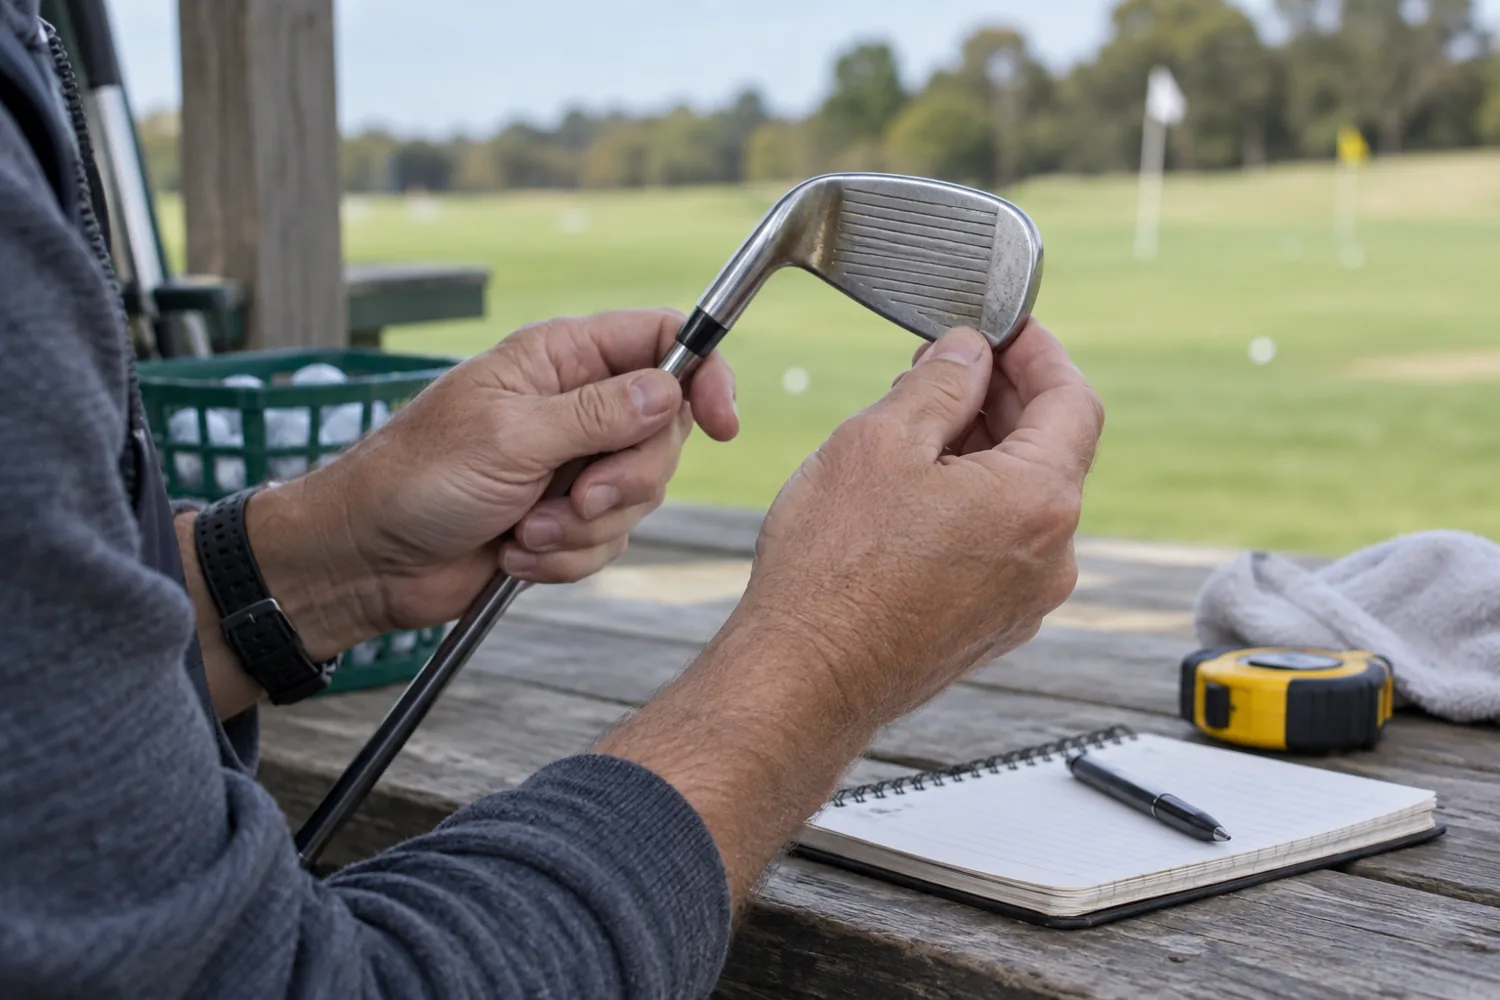
3. Write down the clubs actually included
Record each numbered iron and wedge stamped on the sole. A factory sheet may list optional long irons or wedges that are absent from a used listing. If one club has a different badge, finish or shaft, photograph it separately and check whether it belongs to the same generation.
4. Read the chart for the right build
Once the head is identified, check the source region, stock shaft or build assumptions, handedness information and units. Compare the same club labels across records. Our iron library shows those details alongside the original loft, lie and length; the comparison tool places two sourced generations side by side.
One matching number is not proof of a match. The standard 7-iron loft is 28.5° in both M2 sheets, while other stock rows differ. A loft figure also cannot tell you how far a club will carry or whether it fits your swing. Read our loft guide for that context.
5. Check what the used clubs are now
Factory numbers describe a published starting build. A previous owner may have bent a head, changed shafts or grips, or shortened a club. Ask what has been altered. If a measurement matters to a purchase or fitting decision, have the actual clubs checked by a qualified fitter. The used-iron checklist covers condition and seller questions; our length guide explains why measuring method matters.
Save the cavity, sole, face and set photos; note the exact model and generation; link the manufacturer source; list the clubs present; and mark any current measurements or modifications separately from the factory chart.
Sources and scope
The M2 example was checked against TaylorMade's 2016 and 2017 product sheets, reviewed September 27, 2026. The photos on this page are generated editorial illustrations and show no verified model. This guide does not authenticate a club or establish its present specifications.